Installing a DIY stair runner is a rewarding project that can dramatically improve the look and safety of your stairs. The key to success lies in careful preparation and accurate measurements, ensuring the runner fits perfectly and enhances your home’s aesthetic. This guide will walk you through each step, from choosing the right materials to the final touches, helping you achieve professional results without the need for nails.
Getting Started: How to Install Stair Runner Without Nails
Before diving into the installation process, it’s crucial to accurately measure your stairs. This initial step determines the amount of runner rug material you’ll need, ensuring a perfect fit. Armed with a tape measure and a note pad, let’s embark on this DIY stair runner journey, guaranteeing that each step we take is measured and calculated for success.
Measure Your Stairs for a Perfect Fit
Measure the Width of Your Stairs
I started by measuring the width of my stairs to determine the ideal width for my DIY stair runner. This measurement helps ensure the runner is centered and has the right amount of floor showing on both sides, creating a visually appealing look.
Measure the Depth of Each Stair Tread
Next, I measured the depth of each stair tread to calculate the length of runner needed for the horizontal parts of the stairs. It’s essential to get this right for the runner to lie flat and secure.
Measure the Height of Each Riser
Then, I measured the height of each riser, adding this to my calculations for the total length of the runner. It’s crucial for covering the vertical sections neatly and ensuring a snug fit.
Calculate the Total Rug Length Needed
With the width of the stairs, depth of each stair tread, and height of the riser measured, I was able to calculate the total length of the runner needed. This ensured I wouldn’t run short of material midway through the installation.
Selecting Your Stair Runner Rug
Choosing the right DIY stair runner was a pivotal moment in my project. I considered the style, durability, and texture of various options, ensuring my selection would not only complement my home’s decor but also withstand the wear and tear of daily use.
Gathering Necessary Tools and Materials
To install my stair runner, I gathered all the necessary tools and materials, including the runner rug material, a rug pad to cushion my steps, tackless strips for secure installation, a staple gun, staples, a utility knife for precise cuts, and a carpet knee kicker for a professional finish. These tools ensured I was fully equipped to tackle the project head-on.
Laying the Foundation: Tackless Strips and Rug Padding
Preparing the stairs involved cutting and installing tackless strips and a carpet pad. The tackless strips were positioned to hold the runner in place, while the carpet pad added necessary cushioning, enhancing the comfort and appearance of the finished stair runner.
Cut and Install Tackless Strips
I cut the tackless strips to match the width of my stairs, placing them at the back of each stair tread and the bottom of each riser. This setup ensured the pins on the strips were correctly oriented to grip the runner securely.
Cut and Install Padding to Cushion Your Steps
Then, I measured and cut padding for each stair tread, securing it with staples. I chose a felt rug pad to protect the hardwood floors beneath and provide a soft, comfortable step.
The Installation Process: Step by Step
With all preparations complete, I was ready to begin the actual installation of my stair runner. This phase required patience and attention to detail to ensure each step was covered accurately and the runner was secured without the use of nails.
Positioning the Stair Runner Rug
Positioning the DIY stair runner correctly was crucial for a seamless installation. I started at the top of the stairs, ensuring the runner was centered and aligned with each step, using staples to secure it in place.
Securing the Runner Rug Without Nails
To secure my stair runner without nails, I relied on the tackless strips and my staple gun. As I worked my way down, I made sure the width of the runner was consistent and that it adhered neatly to each step, creating a professional-looking finish that would stand the test of time.
Attaching the Runner Rug to the First Stair Tread
Starting my DIY stair runner project, I first focused on the initial step which involved securing the runner to the top stair tread. I carefully positioned the edge of the runner, ensuring it was centered and straight before moving on to the next phase of attachment. This foundational step was crucial for a smooth installation process down the line.
Continuing Down the Stairs, One Step at a Time
After attaching the runner to the first stair, I proceeded with caution, aligning and fixing the runner on each subsequent stair. This methodical approach ensured the DIY stair runner was evenly laid out, avoiding any missteps or misalignments. Patience and precision were my guides as I moved step by step.
Trimming and Finishing the Stair Runner for a Professional Look
Upon reaching the last stair, I trimmed the excess material from the DIY stair runner, ensuring a sleek and tailored finish. This final touch not only enhanced the runner’s appearance but also secured it in place, giving it a professional look that mirrored expert installations.
Avoid Common Mistakes: Tips from Those Who Learned the Hard Way
In my journey, I’ve learned the importance of meticulous planning and execution in avoiding common pitfalls. These insights have been instrumental in achieving a successful DIY stair runner installation.
Choosing the Right Pattern to Complement Your Home
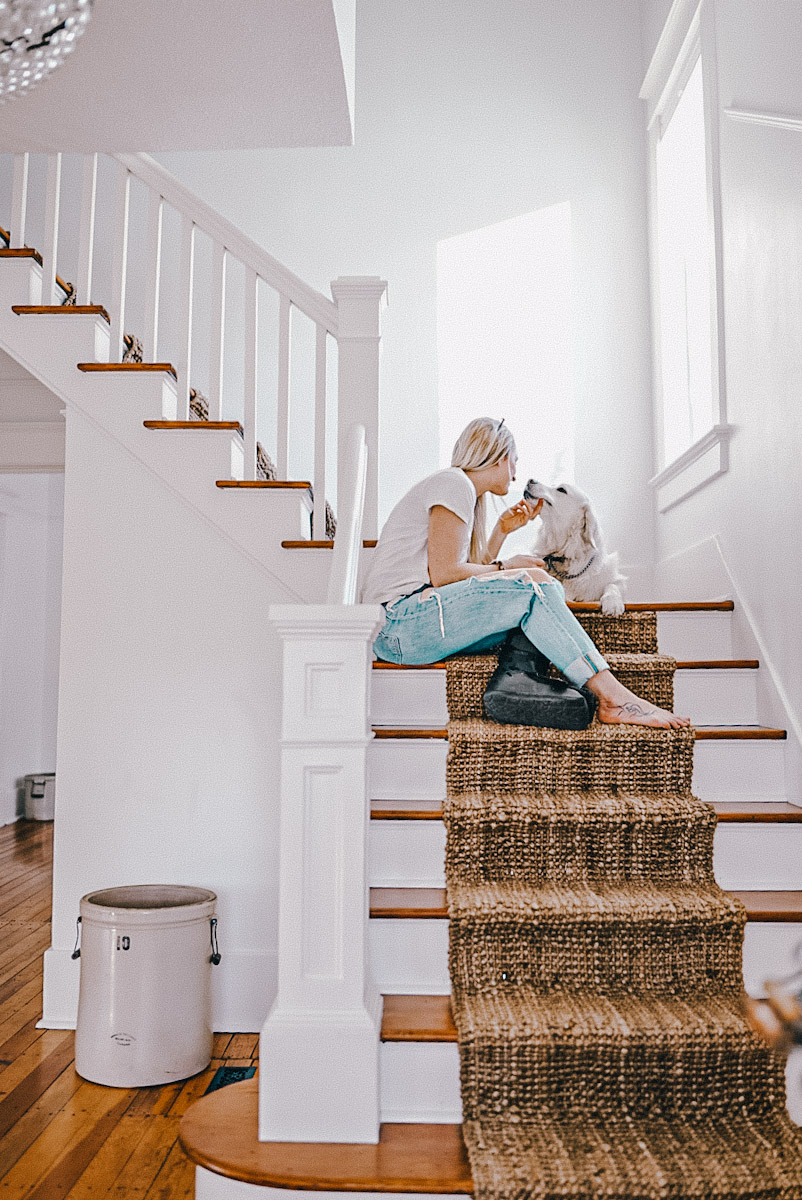
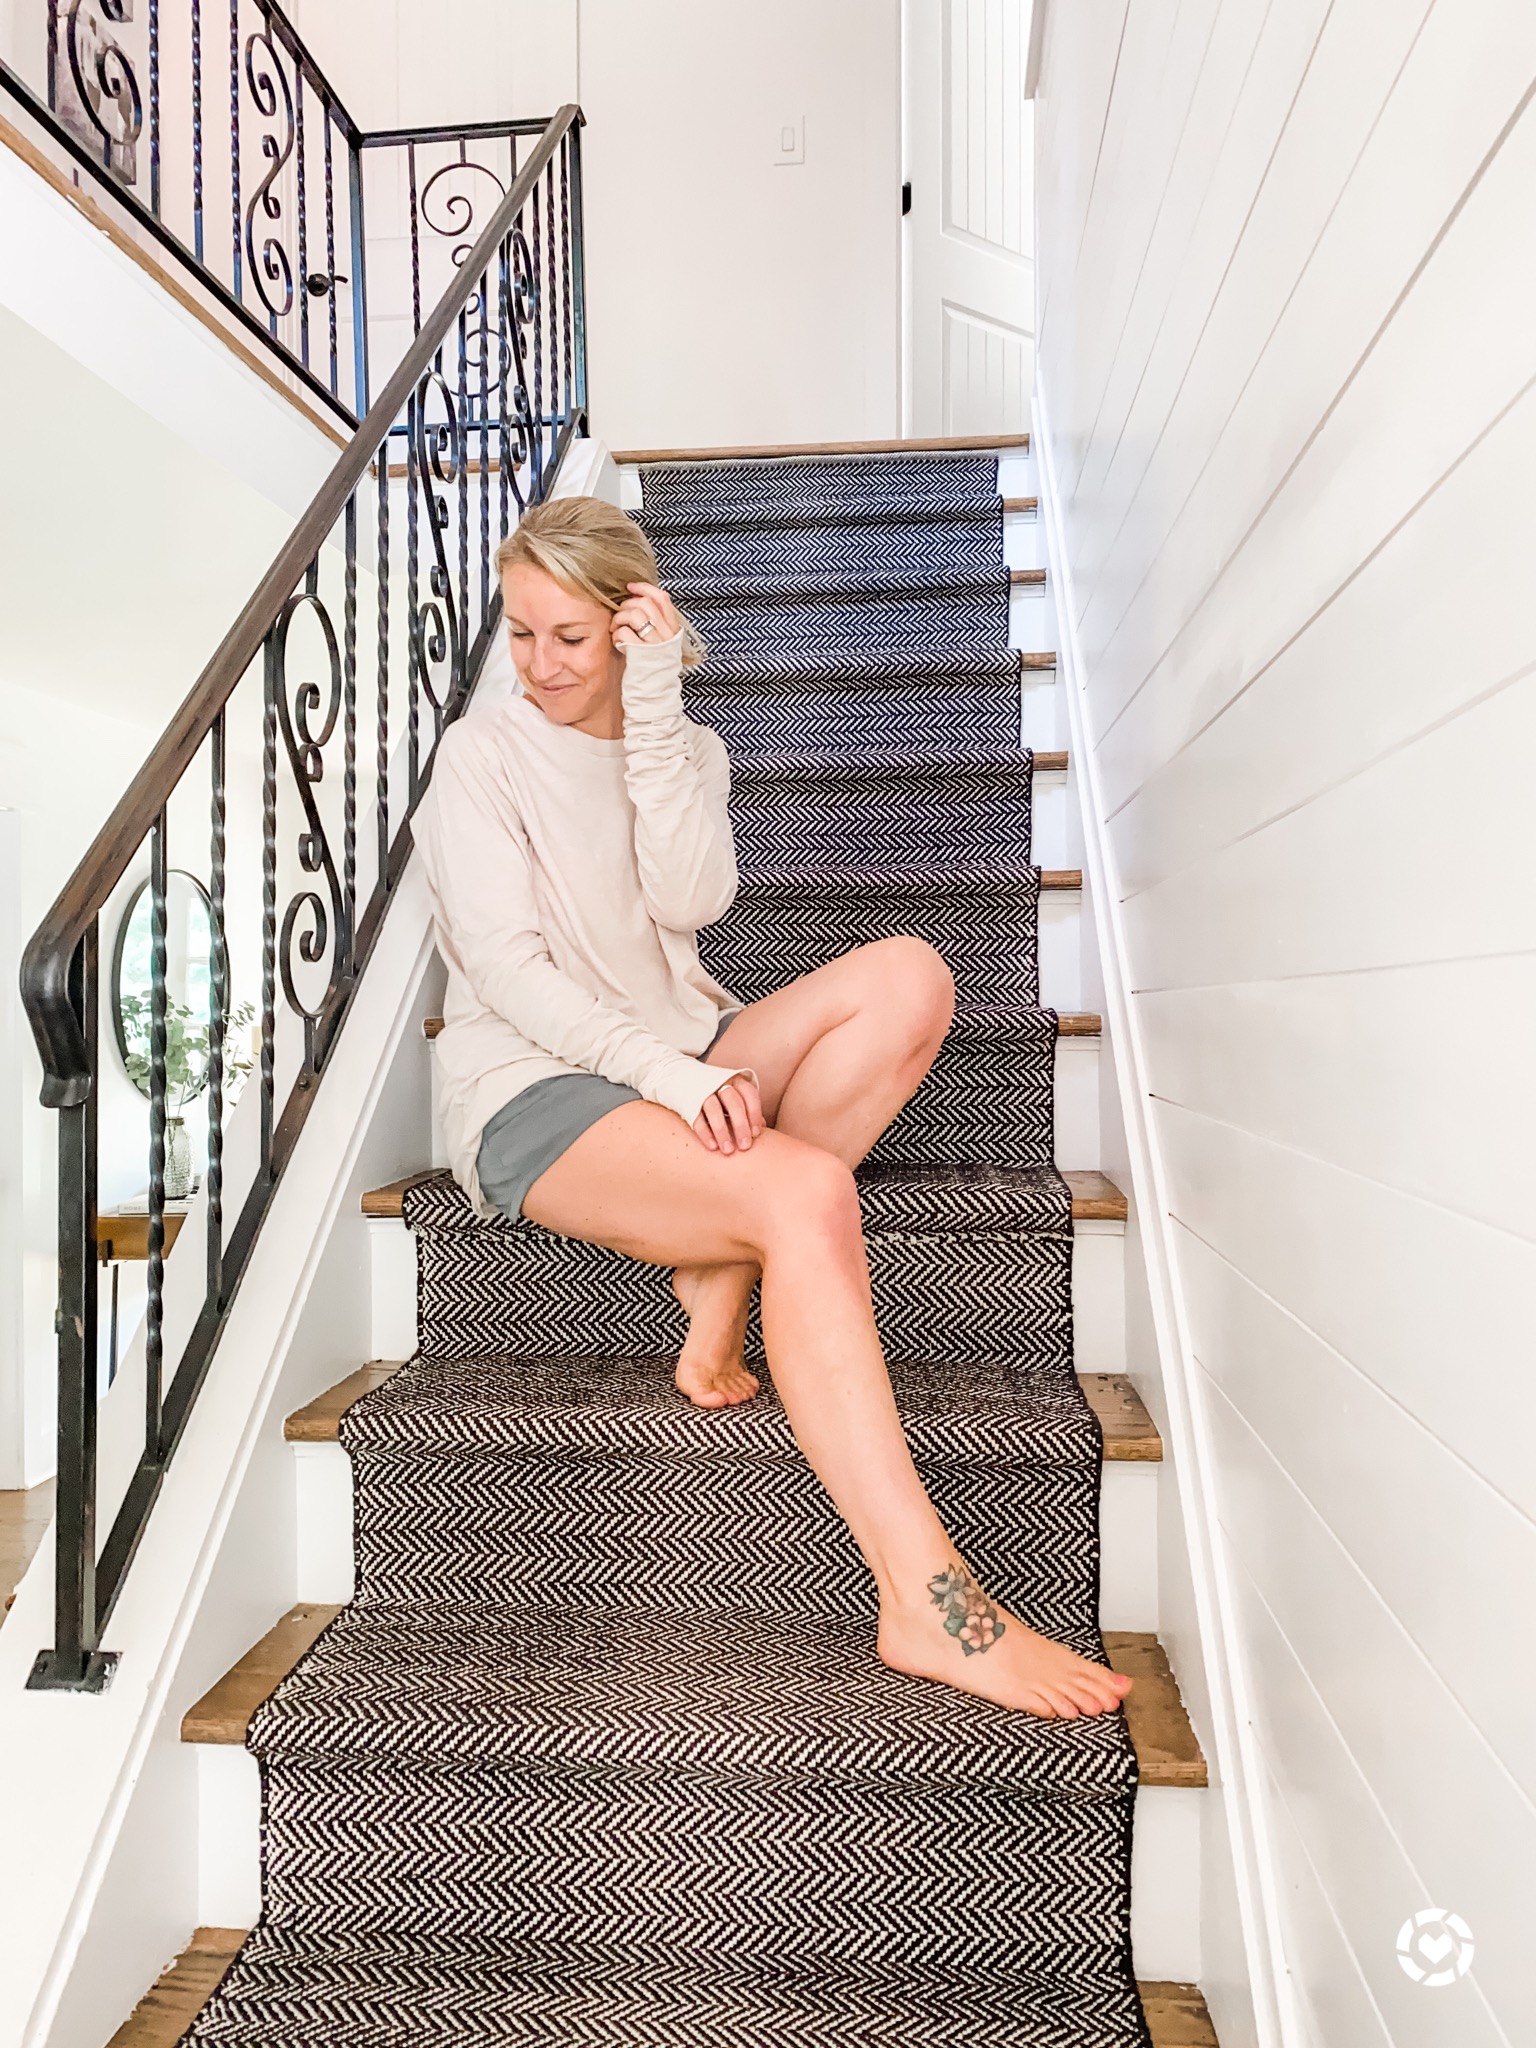
I opted for a runner with a vertical stripe pattern from Annie Selke’s Dash and Albert line. The black and white design provided a classic look that was not only visually appealing but also easier to align compared to horizontal stripes or thinner runners.
Ensuring You Order Enough Material
One critical lesson I learned was to order an extra 2 feet of runner material. Initially, I didn’t order enough, which led to a shortage that could’ve been avoided. The formula of measuring the rise and run of the stairs proved to be invaluable for accurate calculations.
Never Forget the Importance of Rug Padding
Initially, I underestimated the value of a quality carpet pad. However, after observing a professional, I realized the importance of using a 1/4″ thick carpet pad on the tops of each step. This adjustment made a significant difference in the comfort and appearance of the runner.
The Perils of Misplacing Staples or Adhesives
During the installation, I learned the technique of concealing staples in the crack between steps and under the nose for a cleaner look. This method not only secured the runner but also kept the staples hidden, enhancing the overall aesthetic.
The Final Touches: Making Your Stair Runner Stand Out
To ensure my DIY stair runner project was a success, I began with precise measurements of my stairs. This preliminary step was crucial for determining the amount of runner material needed, guaranteeing a perfect fit from start to finish.
Adding Stair Rods for Elegance and Extra Security
Incorporating stair rods into my DIY stair runner installation added an extra layer of elegance and security. These decorative elements not only embellished the staircase but also ensured the runner remained firmly in place, providing both beauty and function.
Opting for Binding or Serging for Edges
To achieve a polished look, I decided to bind the edges of the runner. This process gave the DIY stair runner a finished appearance, mirroring the quality of professional installations, and ensuring the edges were protected from fraying over time.
Embracing Your DIY Success
By choosing to install a stair runner and a stair rug runner myself, I saved a significant amount of money that would have otherwise gone to professional installation fees. This DIY project not only enhanced the aesthetics of my home but also provided a sense of accomplishment and financial savings.
Cleaning and Maintaining Your New Stair Runner
Regular maintenance of my DIY stair runner is essential for its longevity. I make sure to vacuum it frequently to keep the runner needed and runner tightly in place, ensuring it continues to look its best and serve its purpose effectively.
Enjoy the Beauty and Safety of Your Efforts
Completing the DIY stair runner project has brought a new level of beauty and safety to my home. Every step I take on the staircase now feels more secure, and I take pride in the practical and aesthetic enhancements achieved through my efforts.
Share the joy
Written By Rachel McLean
Rachel has a talent for selecting and displaying the latest trends and items in the market, and her writing about home decor and accessories is intelligent and fascinating. Her writing is usually accompanied by wonderful imagery, and she has an uncanny ability to help her readers imagine how various pieces might be combined to create a beautiful living area. She has a profound understanding of color theory and how to use accessories to improve the overall beauty of a room. Rachel's blog is a fantastic resource for anyone seeking to enhance their home's decor, as her writing is both instructive and motivating.