A leaky shower head can be annoying and cause high water bills if left unchecked. But replacing the shower is not always the solution. Sometimes you can do DIY solutions without any hassle and save money.
So the question arises “How To Fix A Leaky Shower Faucet Single Handle?” without replacing it. In this blog post, we are going to elaborate on some easy steps for repairing a dripping shower valve in less than an hour with basic tools and supplies.
Common Issue of a Leaky Shower Faucet
A leaky shower handle is a common issue that happens in almost every other household. It should be addressed promptly because if the water leakage keeps on going it can increase your water bills. Moreover, water waste should be prevented because we are already short on clean water.
To avoid all this, we decided to come up with a DIY solution for leaky shower handle repair. This step-by-step DIY shower faucet leak solution is an easy approach for everyone. There are certain things that you must know first, before troubleshooting shower faucet leaks.
Also, check out our guide for Can You Tile Over Greenboard In A Shower? and Shower Curtain Vs Liner to remodel your bathroom!Identifying the type of leak
In order to do water leakage detection you must have to identify the type of leak first.
- Pinhole leaks are the one in which water drip now and then, these are the silent leaks that are difficult to detect.
- Dripping leaks are the moderate and most common type of leaks. These leaks are the steady yet constant drip of water.
- Gushing leaks are the worst kind of leaks, these leaks have a constant flow of water and there is no way to stop or pause them.
Possible causes of a leaky single-handle shower faucet
Moreover, before repairing a dripping shower valve, you must identify the possible cause that is leading to water leakage. Enlisted below are some of the possible causes of leaky single-handle shower faucets.
- Worn-out O-rings
- Faulty valve or cartridge
- Loose or damaged shower parts
- Clogged drain and mineral buildup
Tools and Materials Required
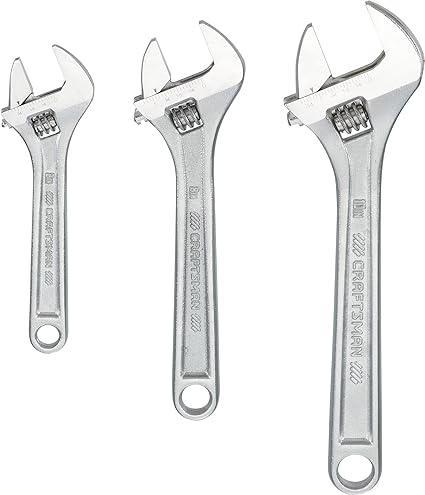
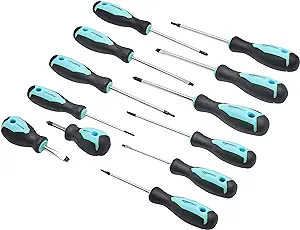
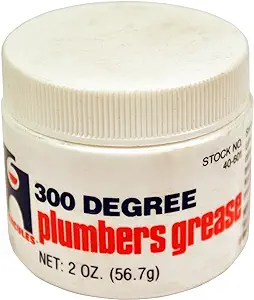
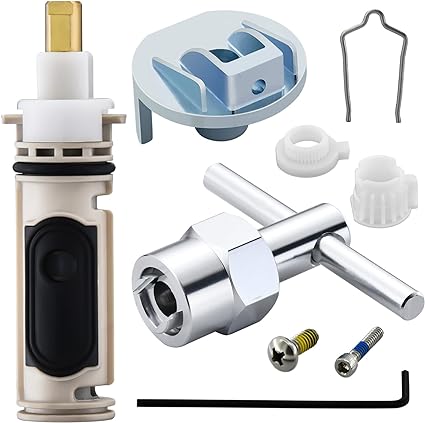
If you want to do a single-handle faucet drip repair then you must have certain materials or tools at hand.
Steps to stop a leaking shower handle
In this section, we will share a step-by-step DIY shower faucet leak solution that can help you to do a single-handle shower fixture leak fix in no time.
- First and foremost, you must turn off the water supply to the shower faucet to prevent wasting of water.
- Then remove the handle cap to expose the internal handle screw, use a screwdriver to unscrew it.
- After removing the screw, you can remove the shower faucet handle. If you are unable to do so with a screwdriver, you can use a special handle puller to pull it.
- After removing the handle you can inspect the O-rings, cartridge and valve to find out the actual problem that is causing the leak.
- You can use a screwdriver to check for loose parts and tighten them with the help of a screwdriver. Also, make sure to check the damaged parts and replace them as needed.
- Make sure to check for any mineral deposits or clogged pipes in order to clean them before turning on the water supply.
- Last but not least reassemble the shower faucet components to complete the process of leaky shower handle repair.
- Later, you can turn on the water supply and see if the repaired faucet is working well.
Common challenges during the repair process
- If there is an old shower installed in your bathroom then it will be difficult to repair it. As the older shower panels are installed back in the wall getting access to the shower panel will be difficult for you.
- If your shower has galvanized steel pipes then it will be difficult to cut the pipe during the repair process. As plastic or rubber pipes can be joined with the help of plumber’s tape whereas steel pipes are screwed together and cannot be cut through supply lines.
After following this step-by-step solution you will see that the water will stop dripping once you’ll turn on the power supply. However, even after initial single-handle faucet drip repair attempts if the problem persists, that’s when you need to seek professional assistance.
Maintenance Tips to Prevent Future Leaky Shower Faucets
After fixing a single-handle faucet leak, there are certain maintenance tips that must be followed if you want to avoid the same trouble in the future.
- Make sure to do regular cleaning and inspection of the shower faucet in order to avoid mineral buildup in the faucet.
- If you see any minor problem with the shower faucet, you must promptly address it. This will save of lot of money and avoid any bigger problems in the future.
- If there is a hard water supply to your house that is causing this recurring problem of clogged drains, then make sure to install water-softening systems.
FAQs on How To Fix A Leaky Shower Faucet Single Handle
What causes a single-handle shower faucet to leak?
Single-handle shower faucet leak is caused by to wearing of the cartridge or valve. This occurs when the part of the valve becomes damaged or broken after a long use. The inner parts are clogged and corroded due to mineral deposits.
How do you stop a single-handle faucet from dripping?
You can use our DIY shower faucet leak solution to stop the water from leaking through the faucet. You have to look for the loose and damaged parts that need to be replaced. After replacing these parts your shower faucet will work as well as new.
How to fix leaky bathtub faucet single handle?
You can fix the bathtub and shower single handle with the same method. Just like we mentioned above you can unscrew the shower handle and look for the damaged valve or cartridge. Next, you have to replace the part that is damaged. That’s it!
How to fix water coming out of shower head and faucet?
If there is constant dripping of water from the shower head and faucet, then the best way to fix it is our DIY solution. However, if the issue persists then you can always seek professional help.
How to mend a leaky shower knob?
First, remove the shower handle, then remove the damaged cartridge and install a new one. After that turn on the water supply when the shower handle is in the off position. If the water is not dripping anymore then you have successfully fixed it.
Conclusion
In a nutshell, you must do regular maintenance of the shower faucet if you want to avoid any bigger problems. The maintenance tips that we have mentioned above will help you in shower faucet leakage prevention. With the help of our step-by-step DIY shower faucet leak solution, you will be able to repair the faucet with complete satisfaction.
This will also save you a lot on the plumbing cost. However, if the problem persists or the DIY solution doesn’t work out for you then you can always call a plumber to fix a single-handle faucet leak.
Share the joy

Fatal error: DISEVAL - Use of eval is forbidden in /home/t1nyus/rigmyhome.com/wp-content/plugins/gp-premium/elements/class-hooks.php(215) : eval()'d code on line 1